M365 Business Premium Part 1: Purchase and Tenant Setup
Choosing the Right Plan
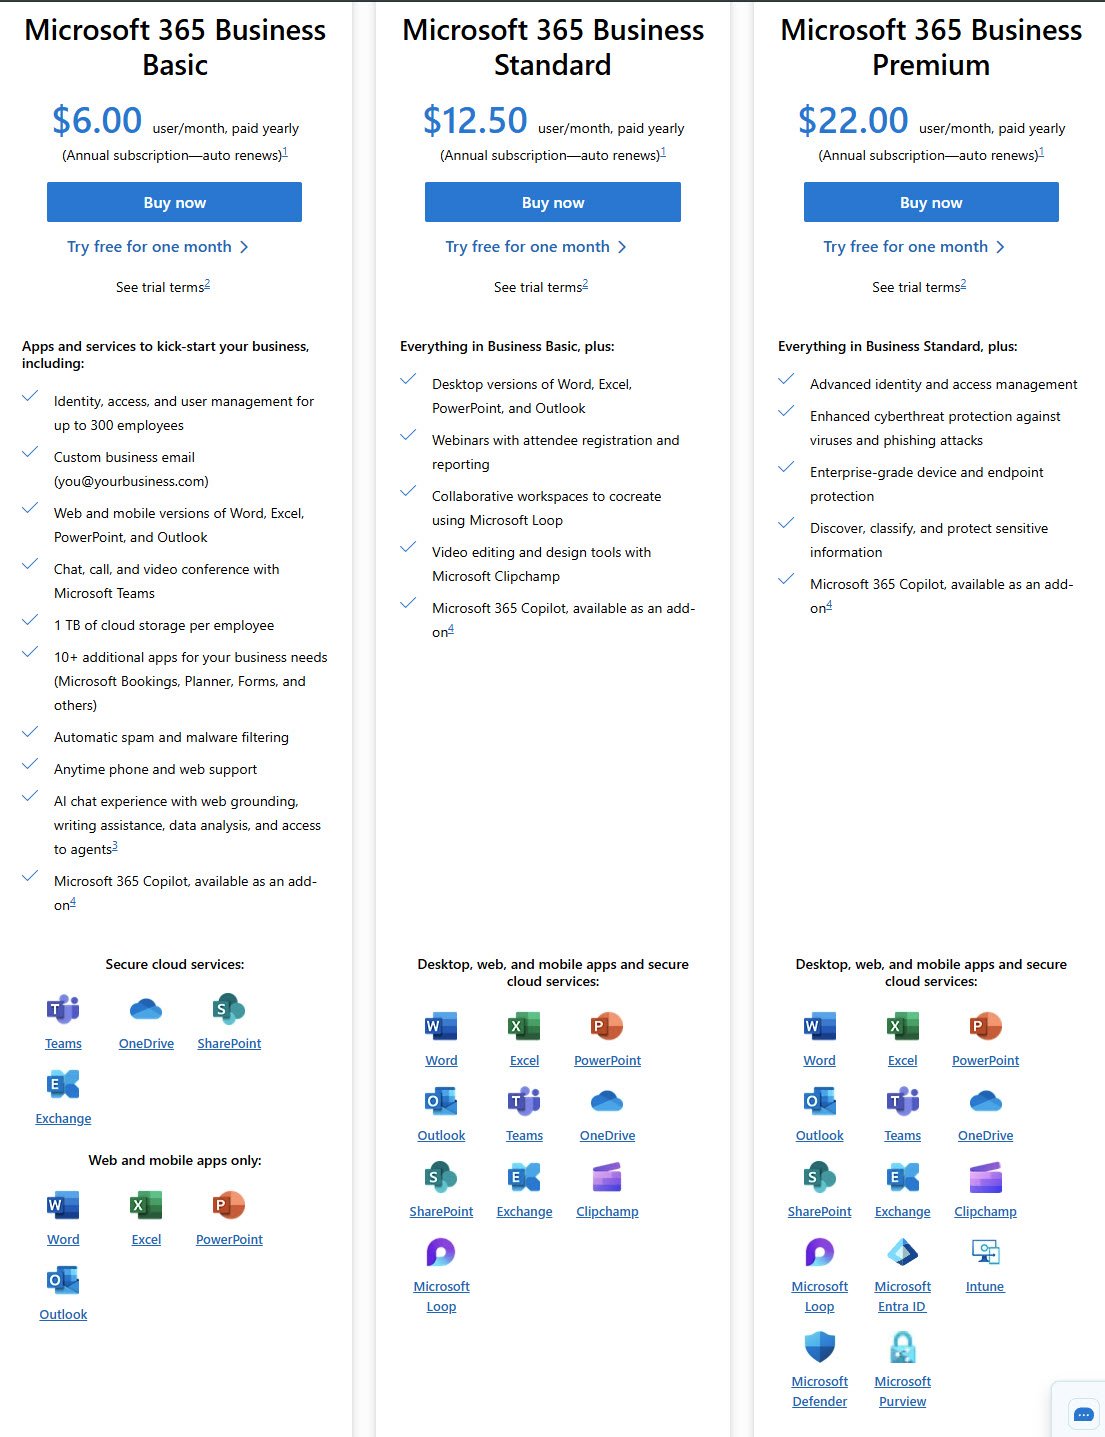
Microsoft offers three main business tiers: Basic, Standard, and Premium. For this blog and my testing environment, I went with “Business Premium” because it’s the only one that includes Intune and Entra ID P1. If you need device management and Conditional Access, the other two won’t cut it.
The pricing shows $22/user/month for annual billing. I started with monthly to test things out first.
Real World Pricing in Europe
Microsoft publishes prices in USD, but if you’re in Europe you pay in local currency plus VAT, the difference is significant.
I’m based in Romania, so here’s what the actual costs look like in my region:
Business Premium runs about 29 EUR per user per month with VAT included. That’s what I pay for this blog’s test tenant. It aligns with typical EU pricing where VAT gets added on top of the base rate.
E3 is listed at €37.70 per user per month before VAT on Microsoft’s Romanian pricing page. Once VAT is applied, you’re looking at roughly 45 to 50 EUR per month per user. That’s about 1.5 times what Business Premium costs.
E5 is listed at €59.70 per user per month before VAT. With VAT included, expect around 70 to 75 EUR per user per month. That’s roughly 2.5 times the Business Premium price.
From a pure cost perspective: Business Premium at around 29 EUR is competitive and practical for small teams. E3 at 45 to 50 EUR is a meaningful jump that only makes sense if you genuinely need the enterprise management and recovery features. E5 at 70 to 75 EUR is a significant investment that’s typically only practical when advanced security automation or compliance tools become necessary.
A note about “Microsoft Teams” in the EU: Microsoft previously sold Enterprise plans (E3/E5) without Teams in the EEA due to competition regulations. As of November 2025, customers worldwide can again purchase suites with Teams included. Business plans like Business Premium were not affected and have always included Teams. If you’re buying Enterprise plans without Teams, expect to pay about €8 less per user, with Teams available as a separate standalone.
Starting the Purchase
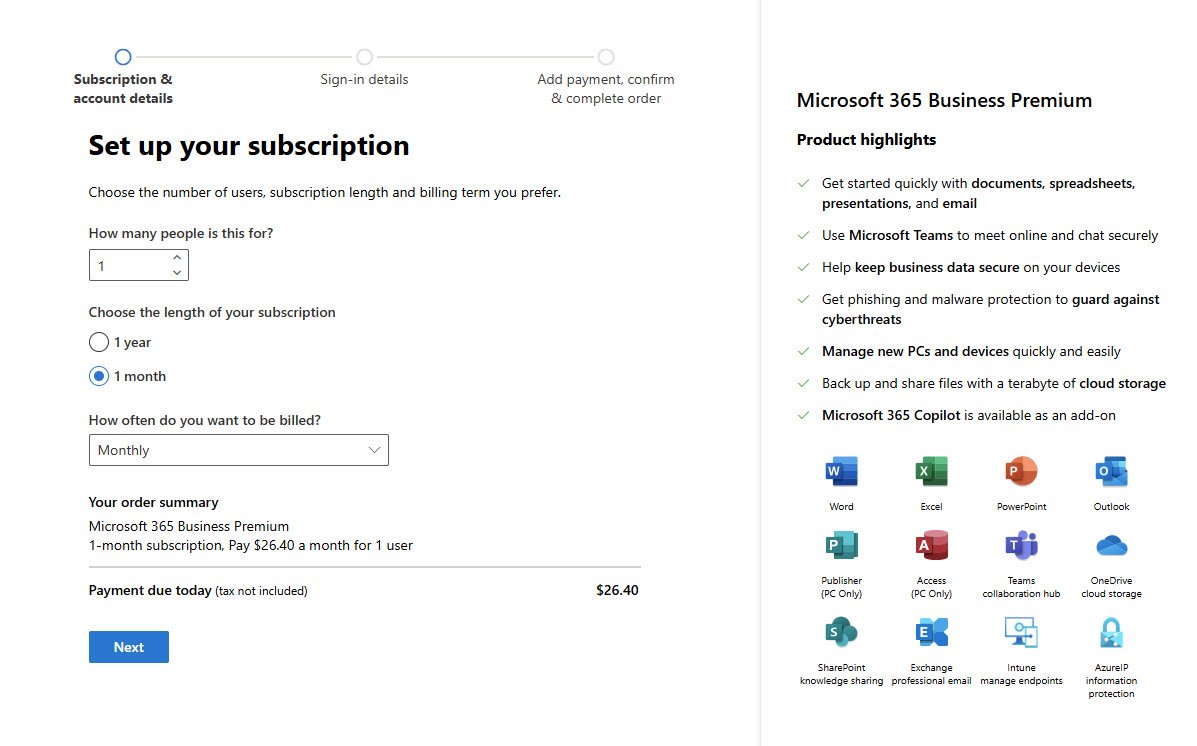
After clicking “Buy now” on Business Premium, you land on the subscription setup page. Here you pick how many users, subscription length, and billing frequency.
I chose 1 user and monthly billing. Yes, monthly costs more per month, but I wanted flexibility while setting everything up. You can always switch to annual later once you’re committed.
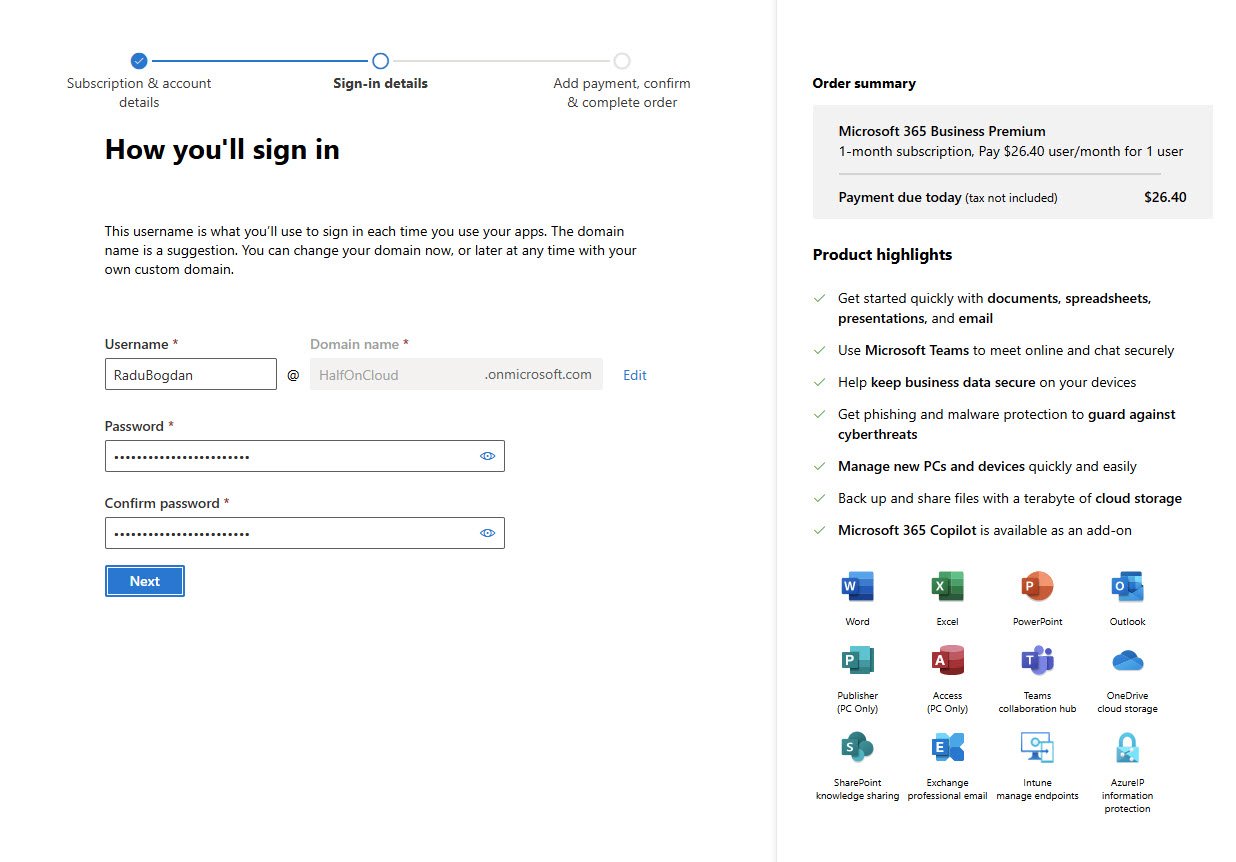
Creating Your Admin Account
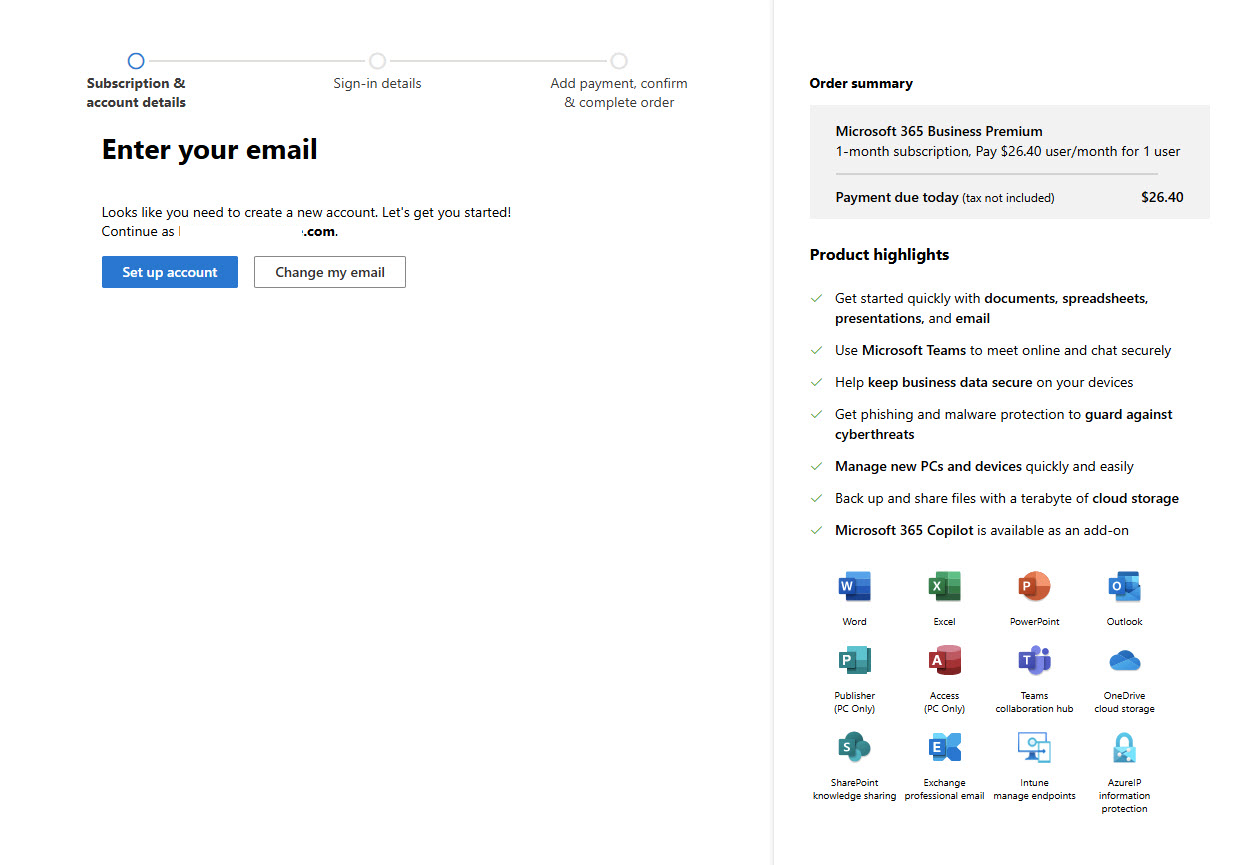
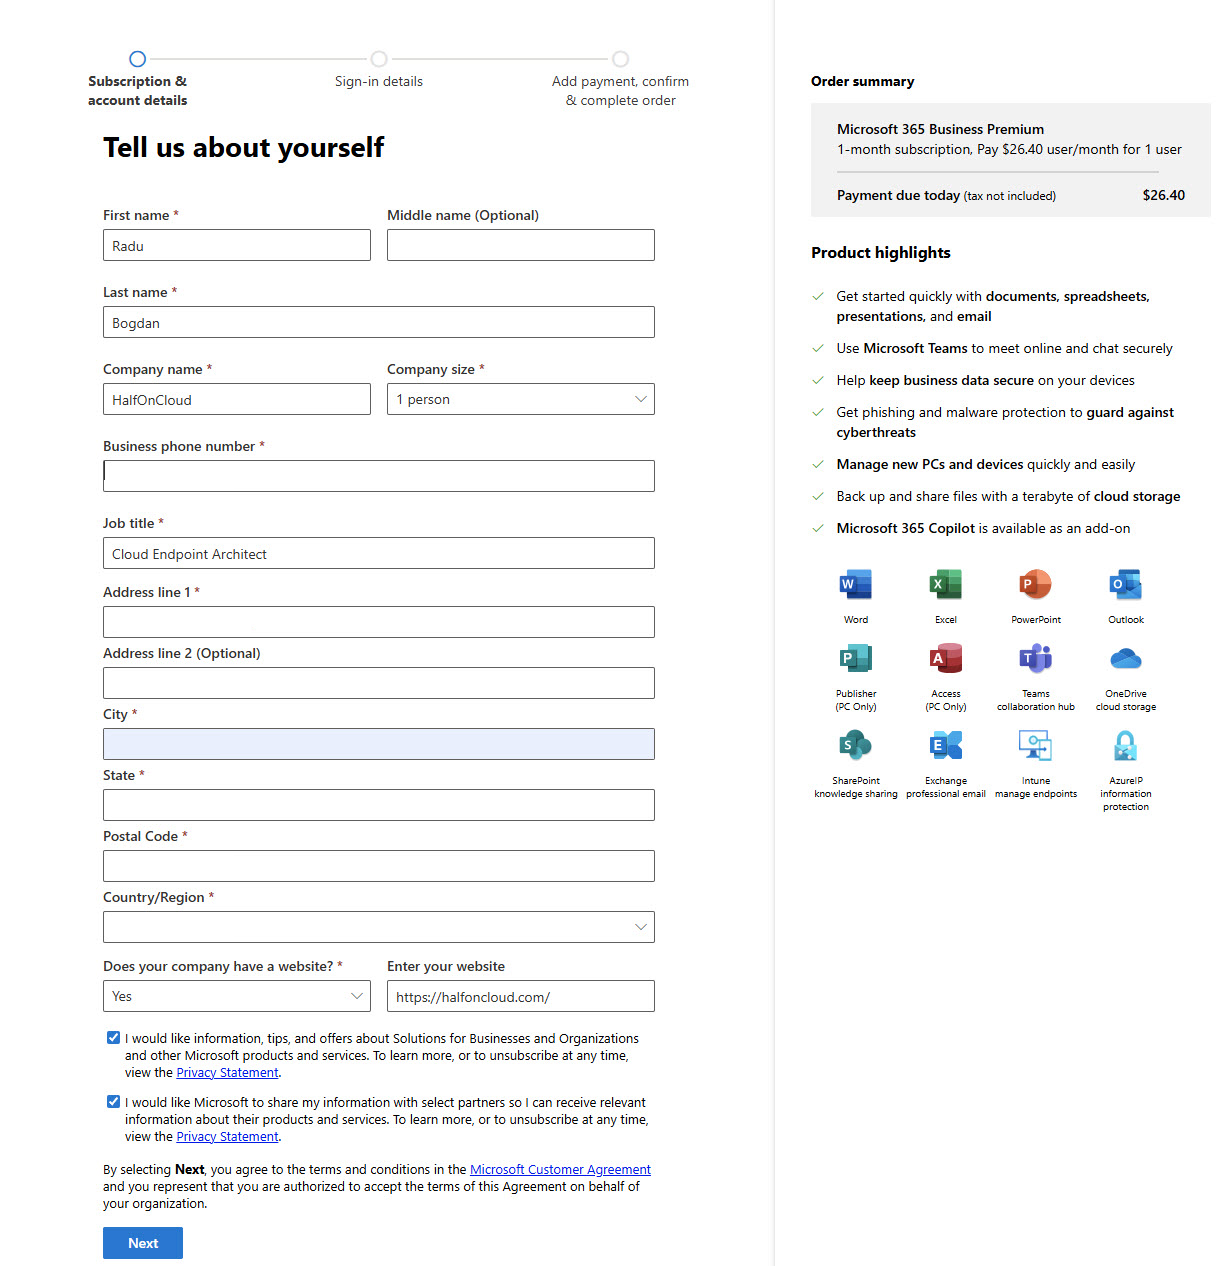
This is where you create your first Global Administrator account. The username you pick here will be your primary admin login, and the domain defaults to yourcompany.onmicrosoft.com.
In my case: RaduBogdan@HalfOnCloud.onmicrosoft.com
Store these credentials somewhere safe. This is your “break glass” account for when things go wrong. Password manager, secure notes, whatever you use. Just don’t lose it.
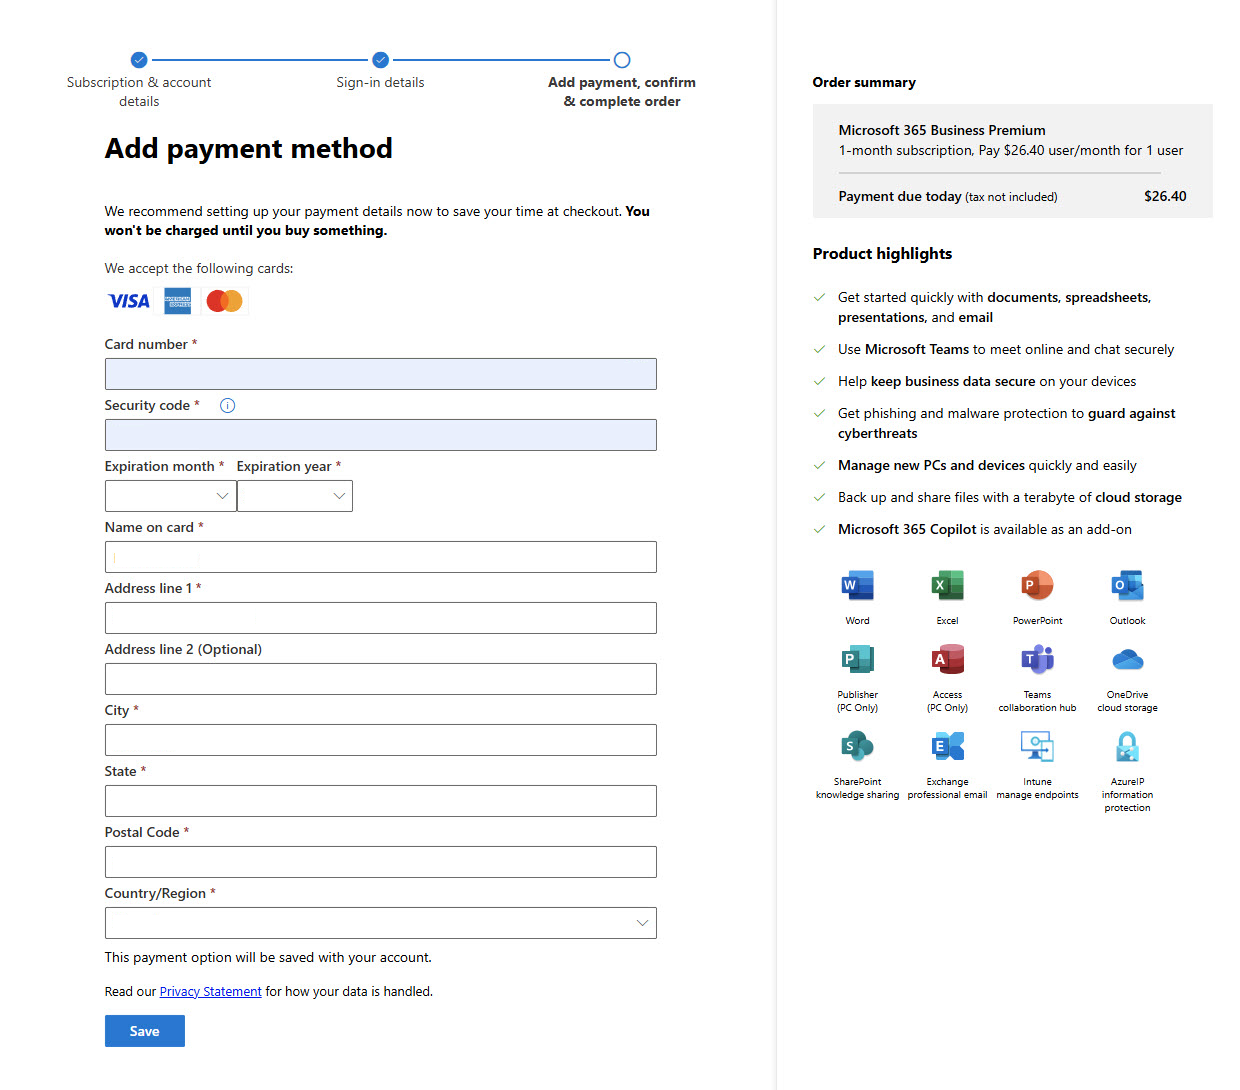
Payment Details
Standard payment form. Credit card, billing address, the usual. Microsoft accepts Visa, Mastercard, and Amex.
Note that it says “You won’t be charged until you buy something” which confused me at first. They mean the trial period if you selected one, otherwise you get charged immediately after completing the order.
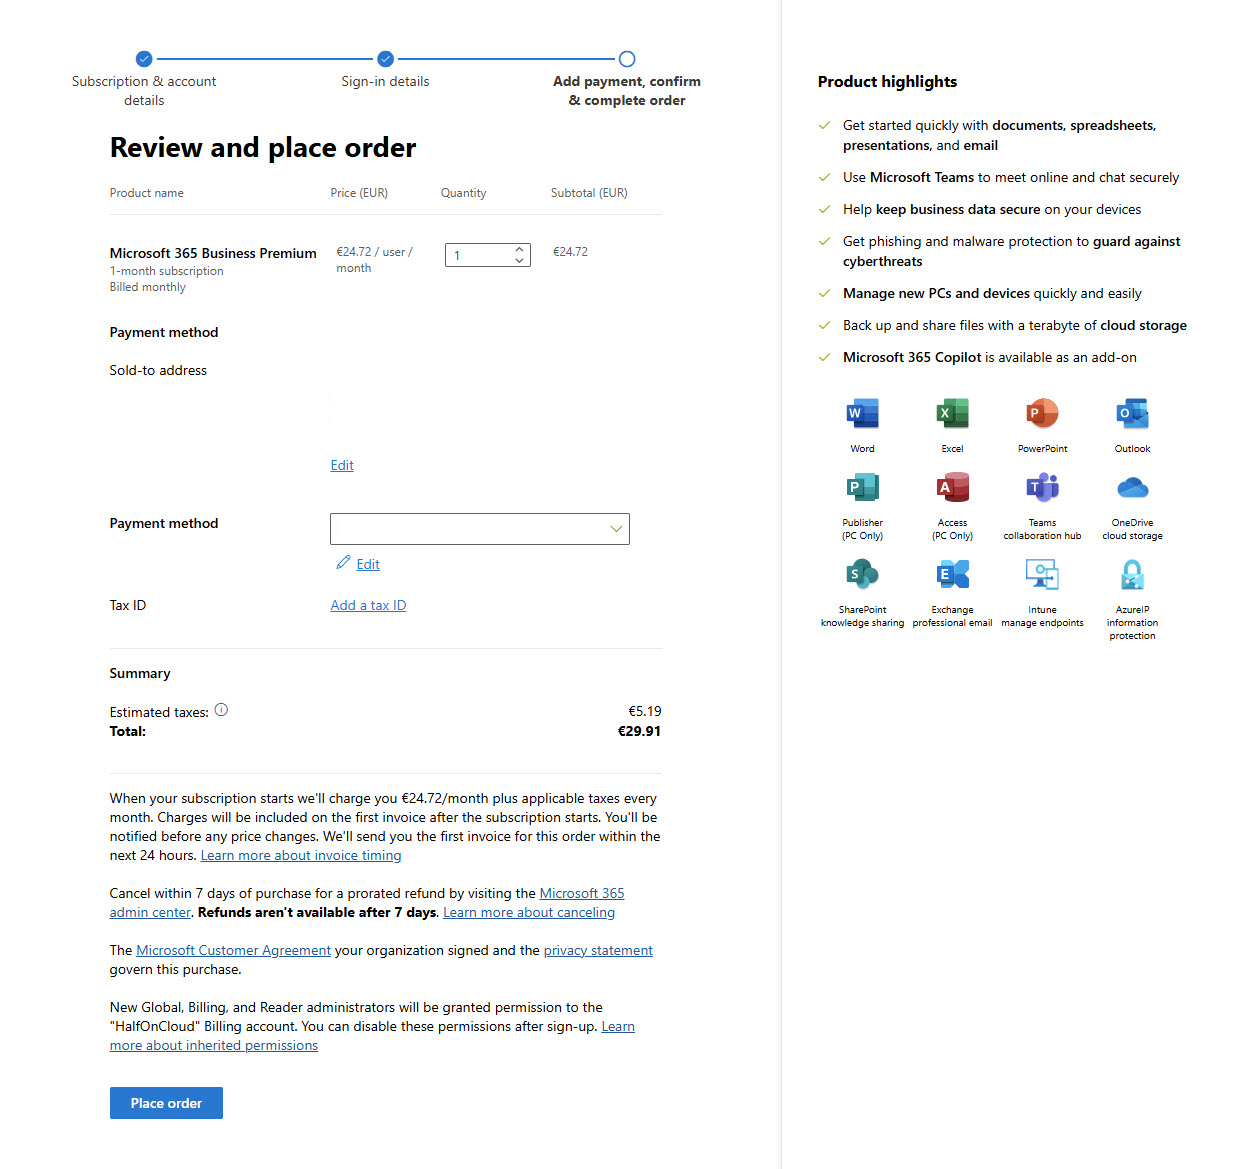
Order Review
Final confirmation before purchase. Check the price, quantity, payment method, and billing address. The total here showed €29.91 including tax for monthly billing in my region.
The fine print mentions you can cancel within 7 days for a prorated refund. After that, no refunds. Also worth noting: Global, Billing, and Reader admin roles will automatically get access to the billing account.
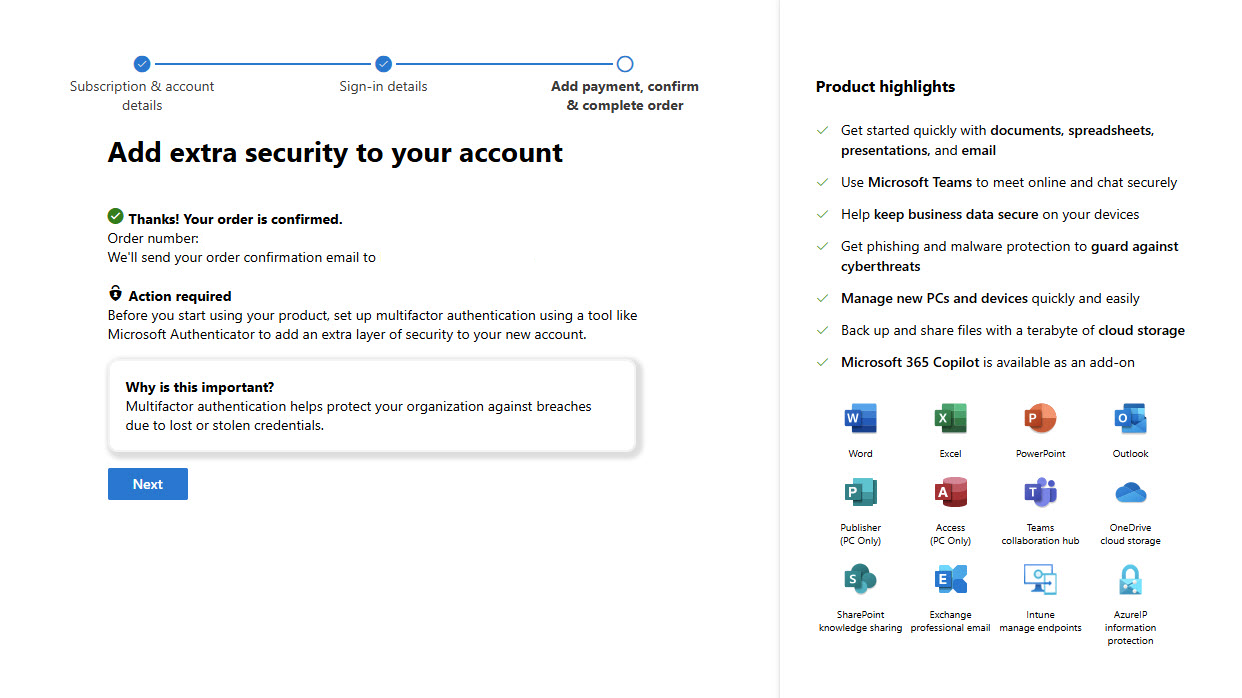
Order Confirmed
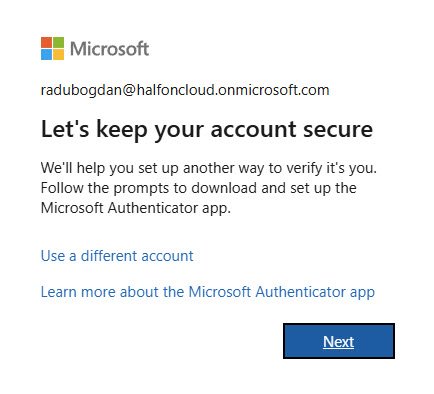
Done. Order is placed and Microsoft immediately asks you to set up MFA. This is not optional anymore, Microsoft enforces it for all new admin accounts.
The “Action required” box tells you to set up Microsoft Authenticator. You can use other authenticator apps, but Microsoft pushes their own.
Setting Up MFA
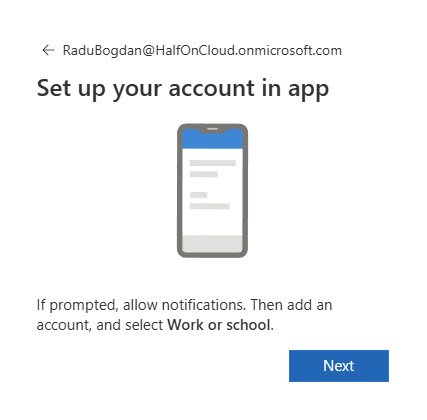
Microsoft walks you through the Authenticator setup. Download the app if you don’t have it, then follow the prompts.
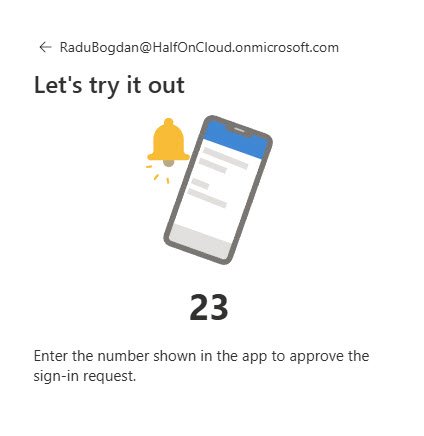
The process is straightforward: open the app, add a work account, scan the QR code (not shown here), and approve the test notification.
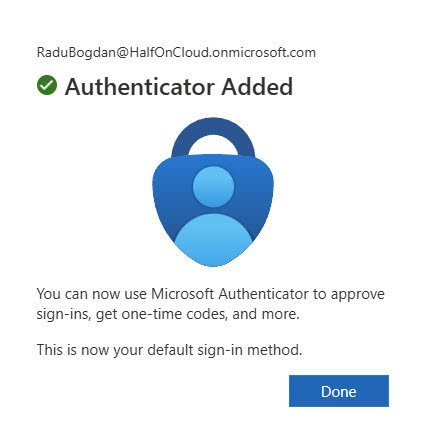
MFA Complete
Once the authenticator is linked, you’re done with the initial security setup. This becomes your default sign-in method going forward.
What’s Next
At this point you have an active M365 Business Premium subscription and a secured admin account. The next steps would be accessing the admin center, adding a custom domain, and starting to configure the tenant.
I’ll cover those in the next post.